Your ephemeris searches can be found under the “My Searches” tab of the Ephemeris main navigation section. To access this screen:
- Login to your account if you’re not already logged in.
- [Desktop] Select “Ephemeris” from the main navigation (top of the screen); or,
- [Mobile] Select the “more” link (3 dots) from the upper-right of the screen, then select “Ephemeris”.
- Select the “My Searches” tab.
Page Layout
Desktop
- The left side of the screen displays all of your searches, organized by their status.
- The right side of the screen is blank by default, and is where your Timeline will display events when you select a search.
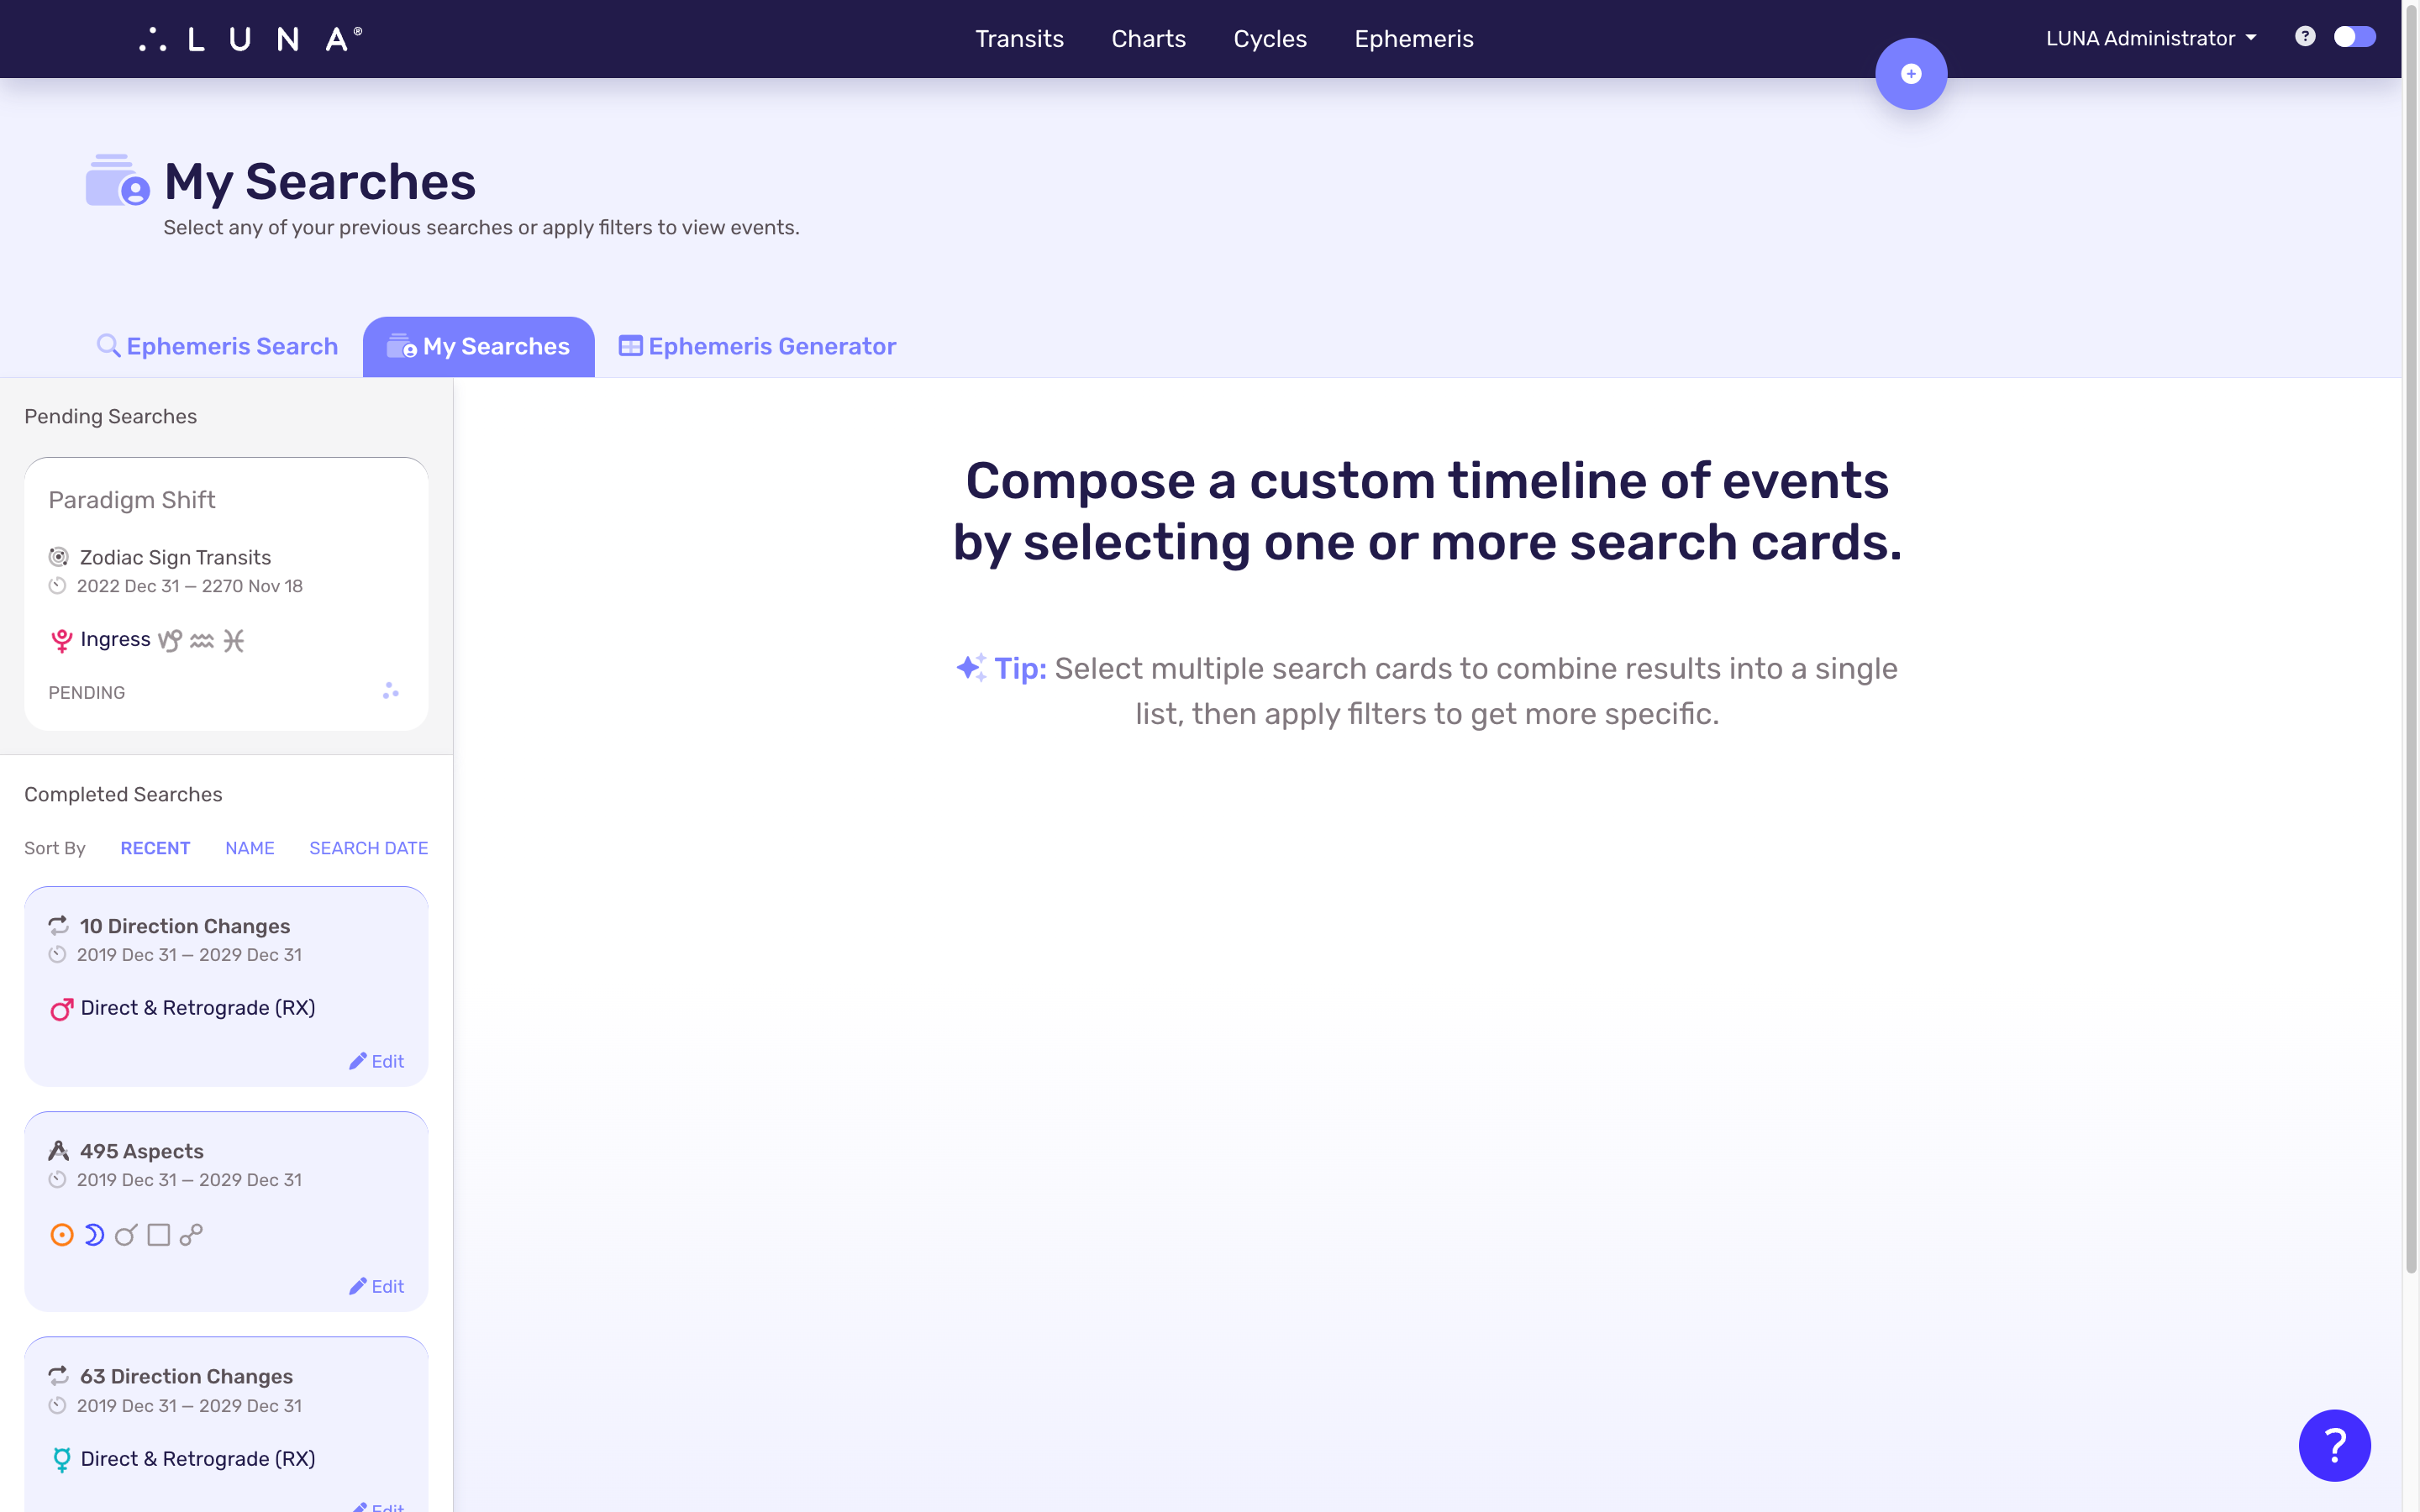
On desktop computers and other large screens, the “My Searches” page looks like the above screen capture.
Mobile
- Your searches appear in a drawer at the top of the screen (“Completed Searches”); tap to open it and see your searches.
- The main area of the screen is blank by default, and is where your Timeline will display events when you select a search.
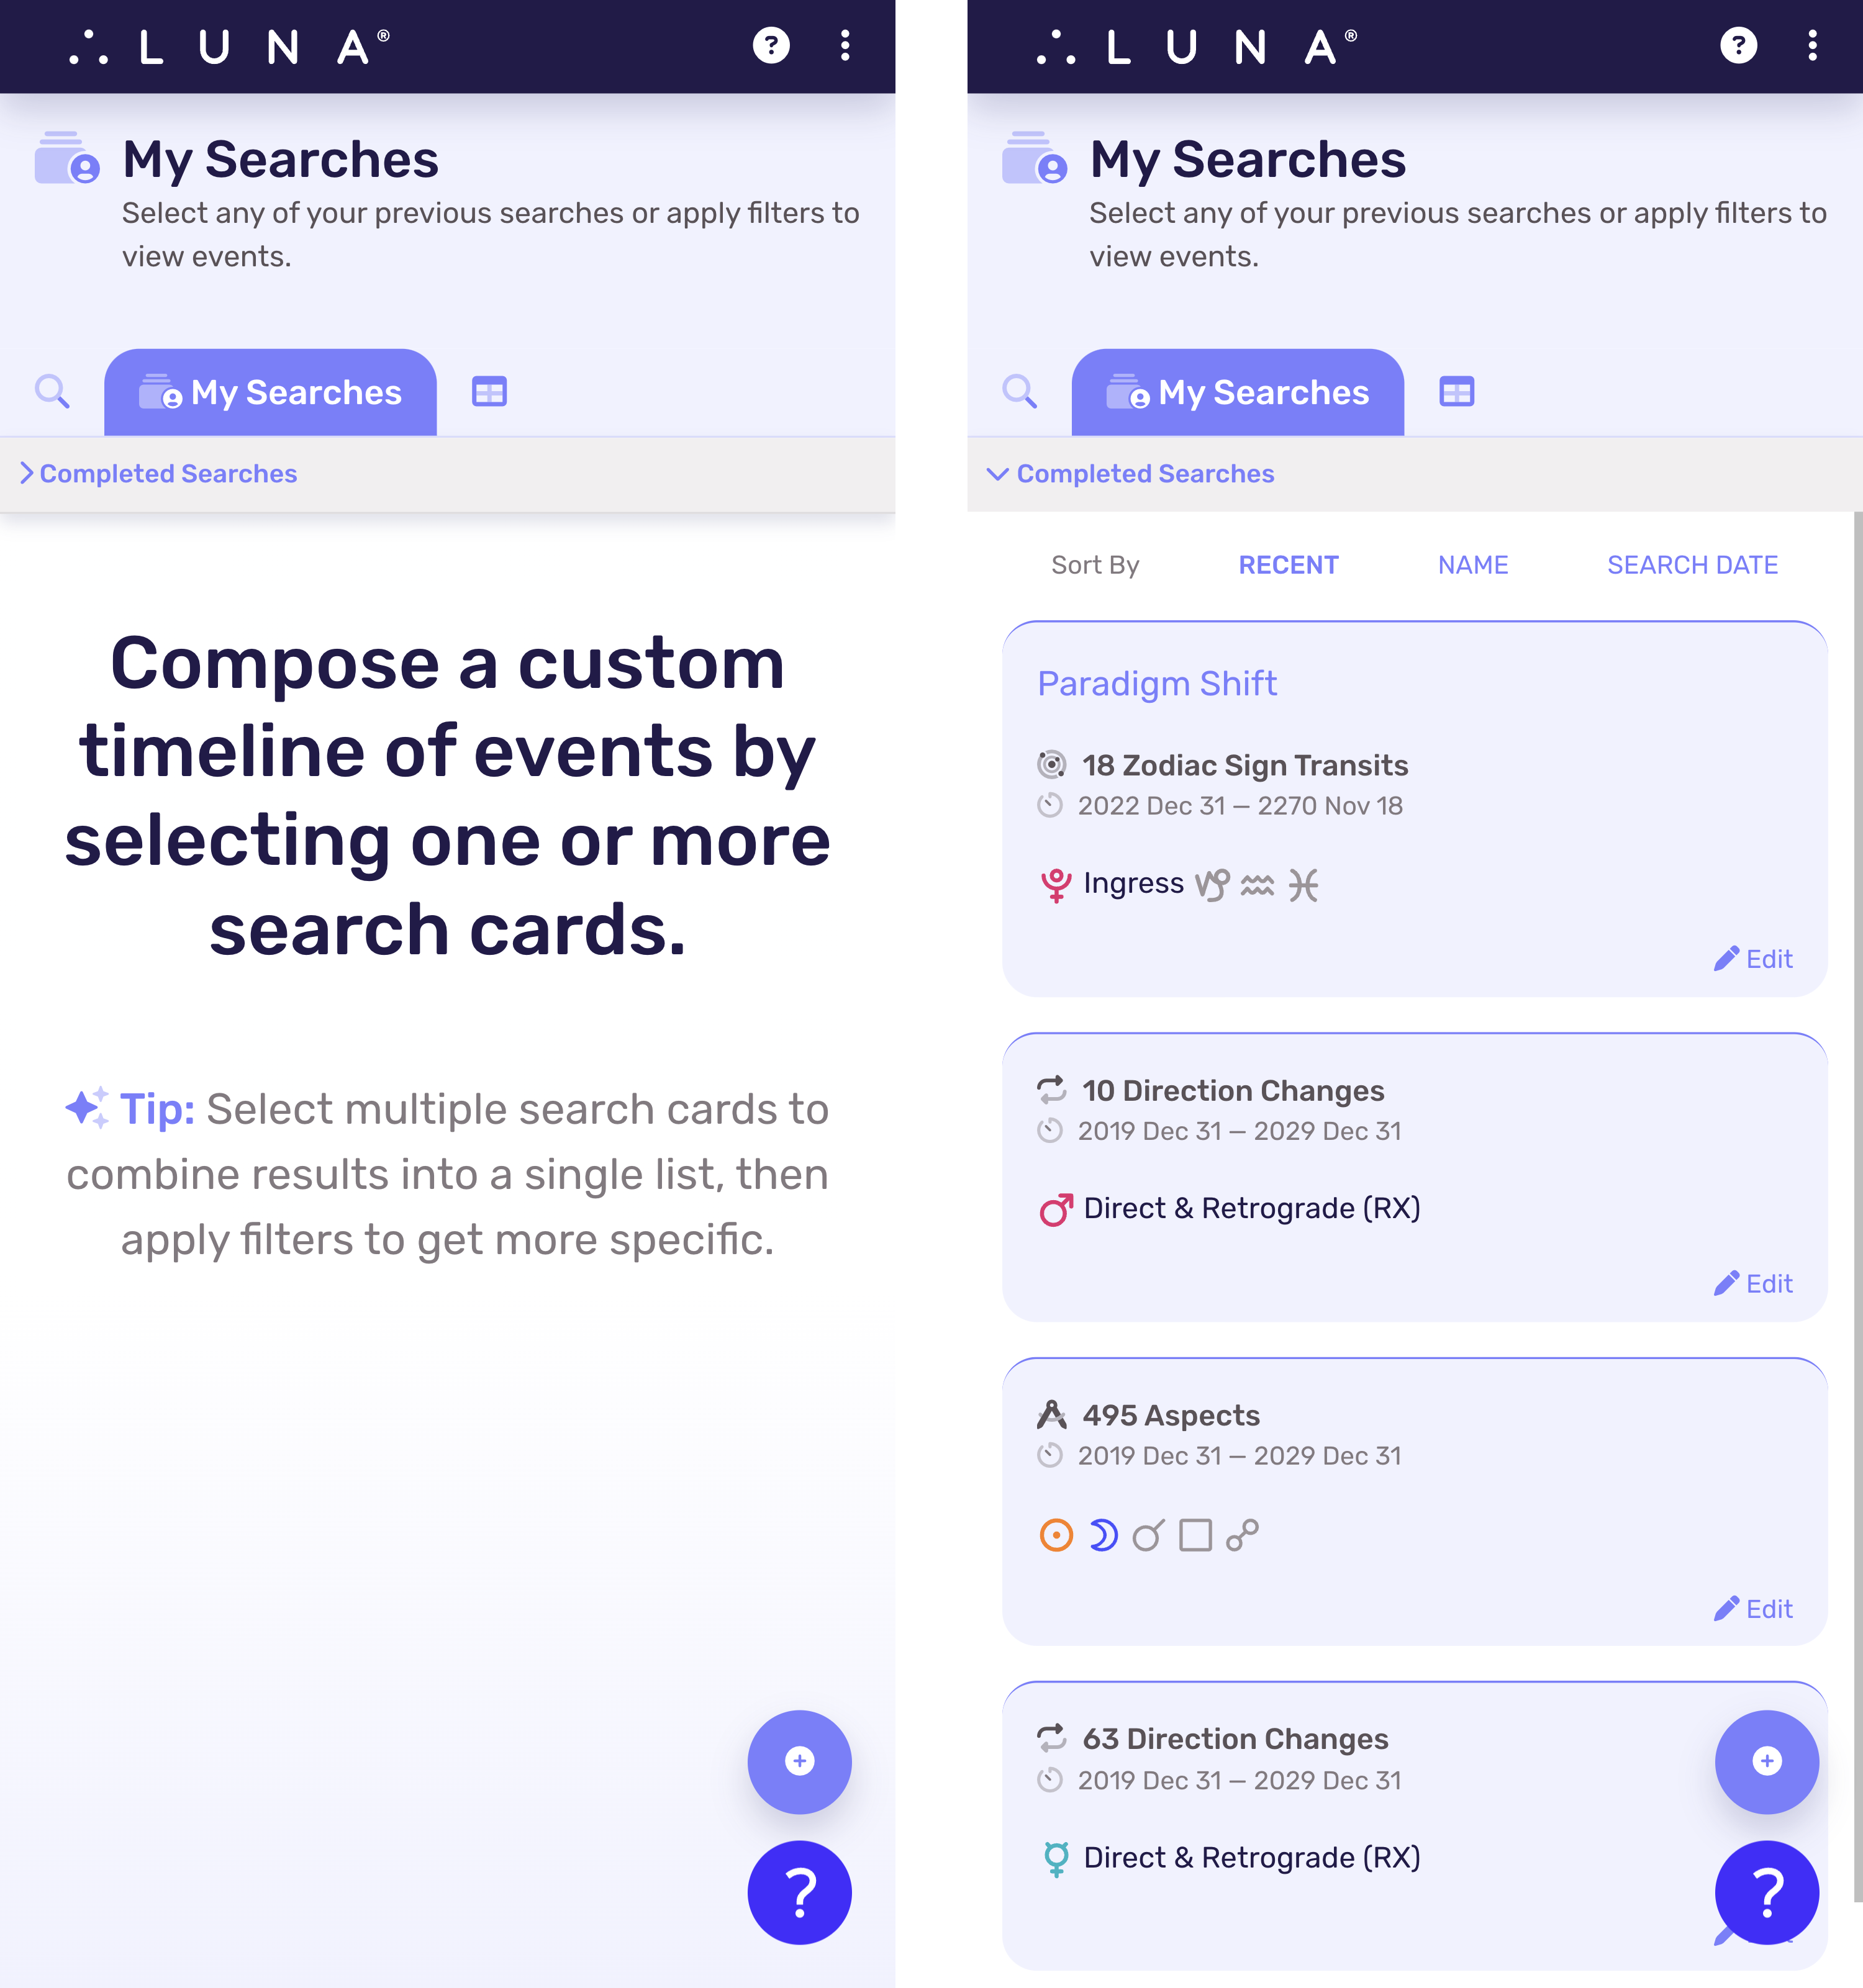
On mobile devices, the “My Searches” page uses a drawer that lets you open and close it to reveal your searches.
Managing Searches
Edit a Search
To edit a completed search, select the pencil icon in the relevant search card. Make whatever changes you like and submit the form to re-run the search.
Delete a Search
You can delete any of your searches from the edit screen. First select the pencil icon in the relevant search card. Then select the “Delete” button located in the lower right of the form. You will be asked to confirm if you want to delete the search and its results. Click “OK” to confirm the delete operation, or “Cancel” to cancel it.
Viewing Search Results
Sorting Your Search Cards
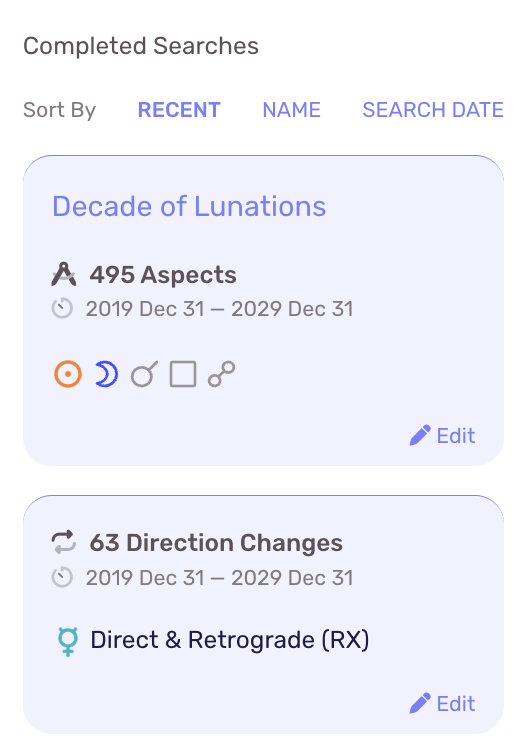
Your searches appear as “cards” in the sidebar of your screen on desktop and in the “Completed Searches” panel on mobile. These cards can be sorted by any of the following values:
- Recent: This is the default sort order and will show your most recently executed searches on top.
- Name: If you named your search, selecting this sort option will alphabetize your search cards.
- Search Date: Select this option to sort your cards chronologically by the start date of each search.
Create a Timeline
The events found in your searches (also called “search results”) are displayed in your Timeline. You can load one (1) or more set of search results into your Timeline at once. To do this:
- [Desktop] Select one (1) or more cards from the left sidebar.
- [Mobile] Open the “Completed Searches” drawer at the top of the screen, then select the relevant search card(s).
The events for the selected searches will appear in your Timeline in chronological order, starting with the oldest event first. You can reverse this direction by selecting the “Date” column link.
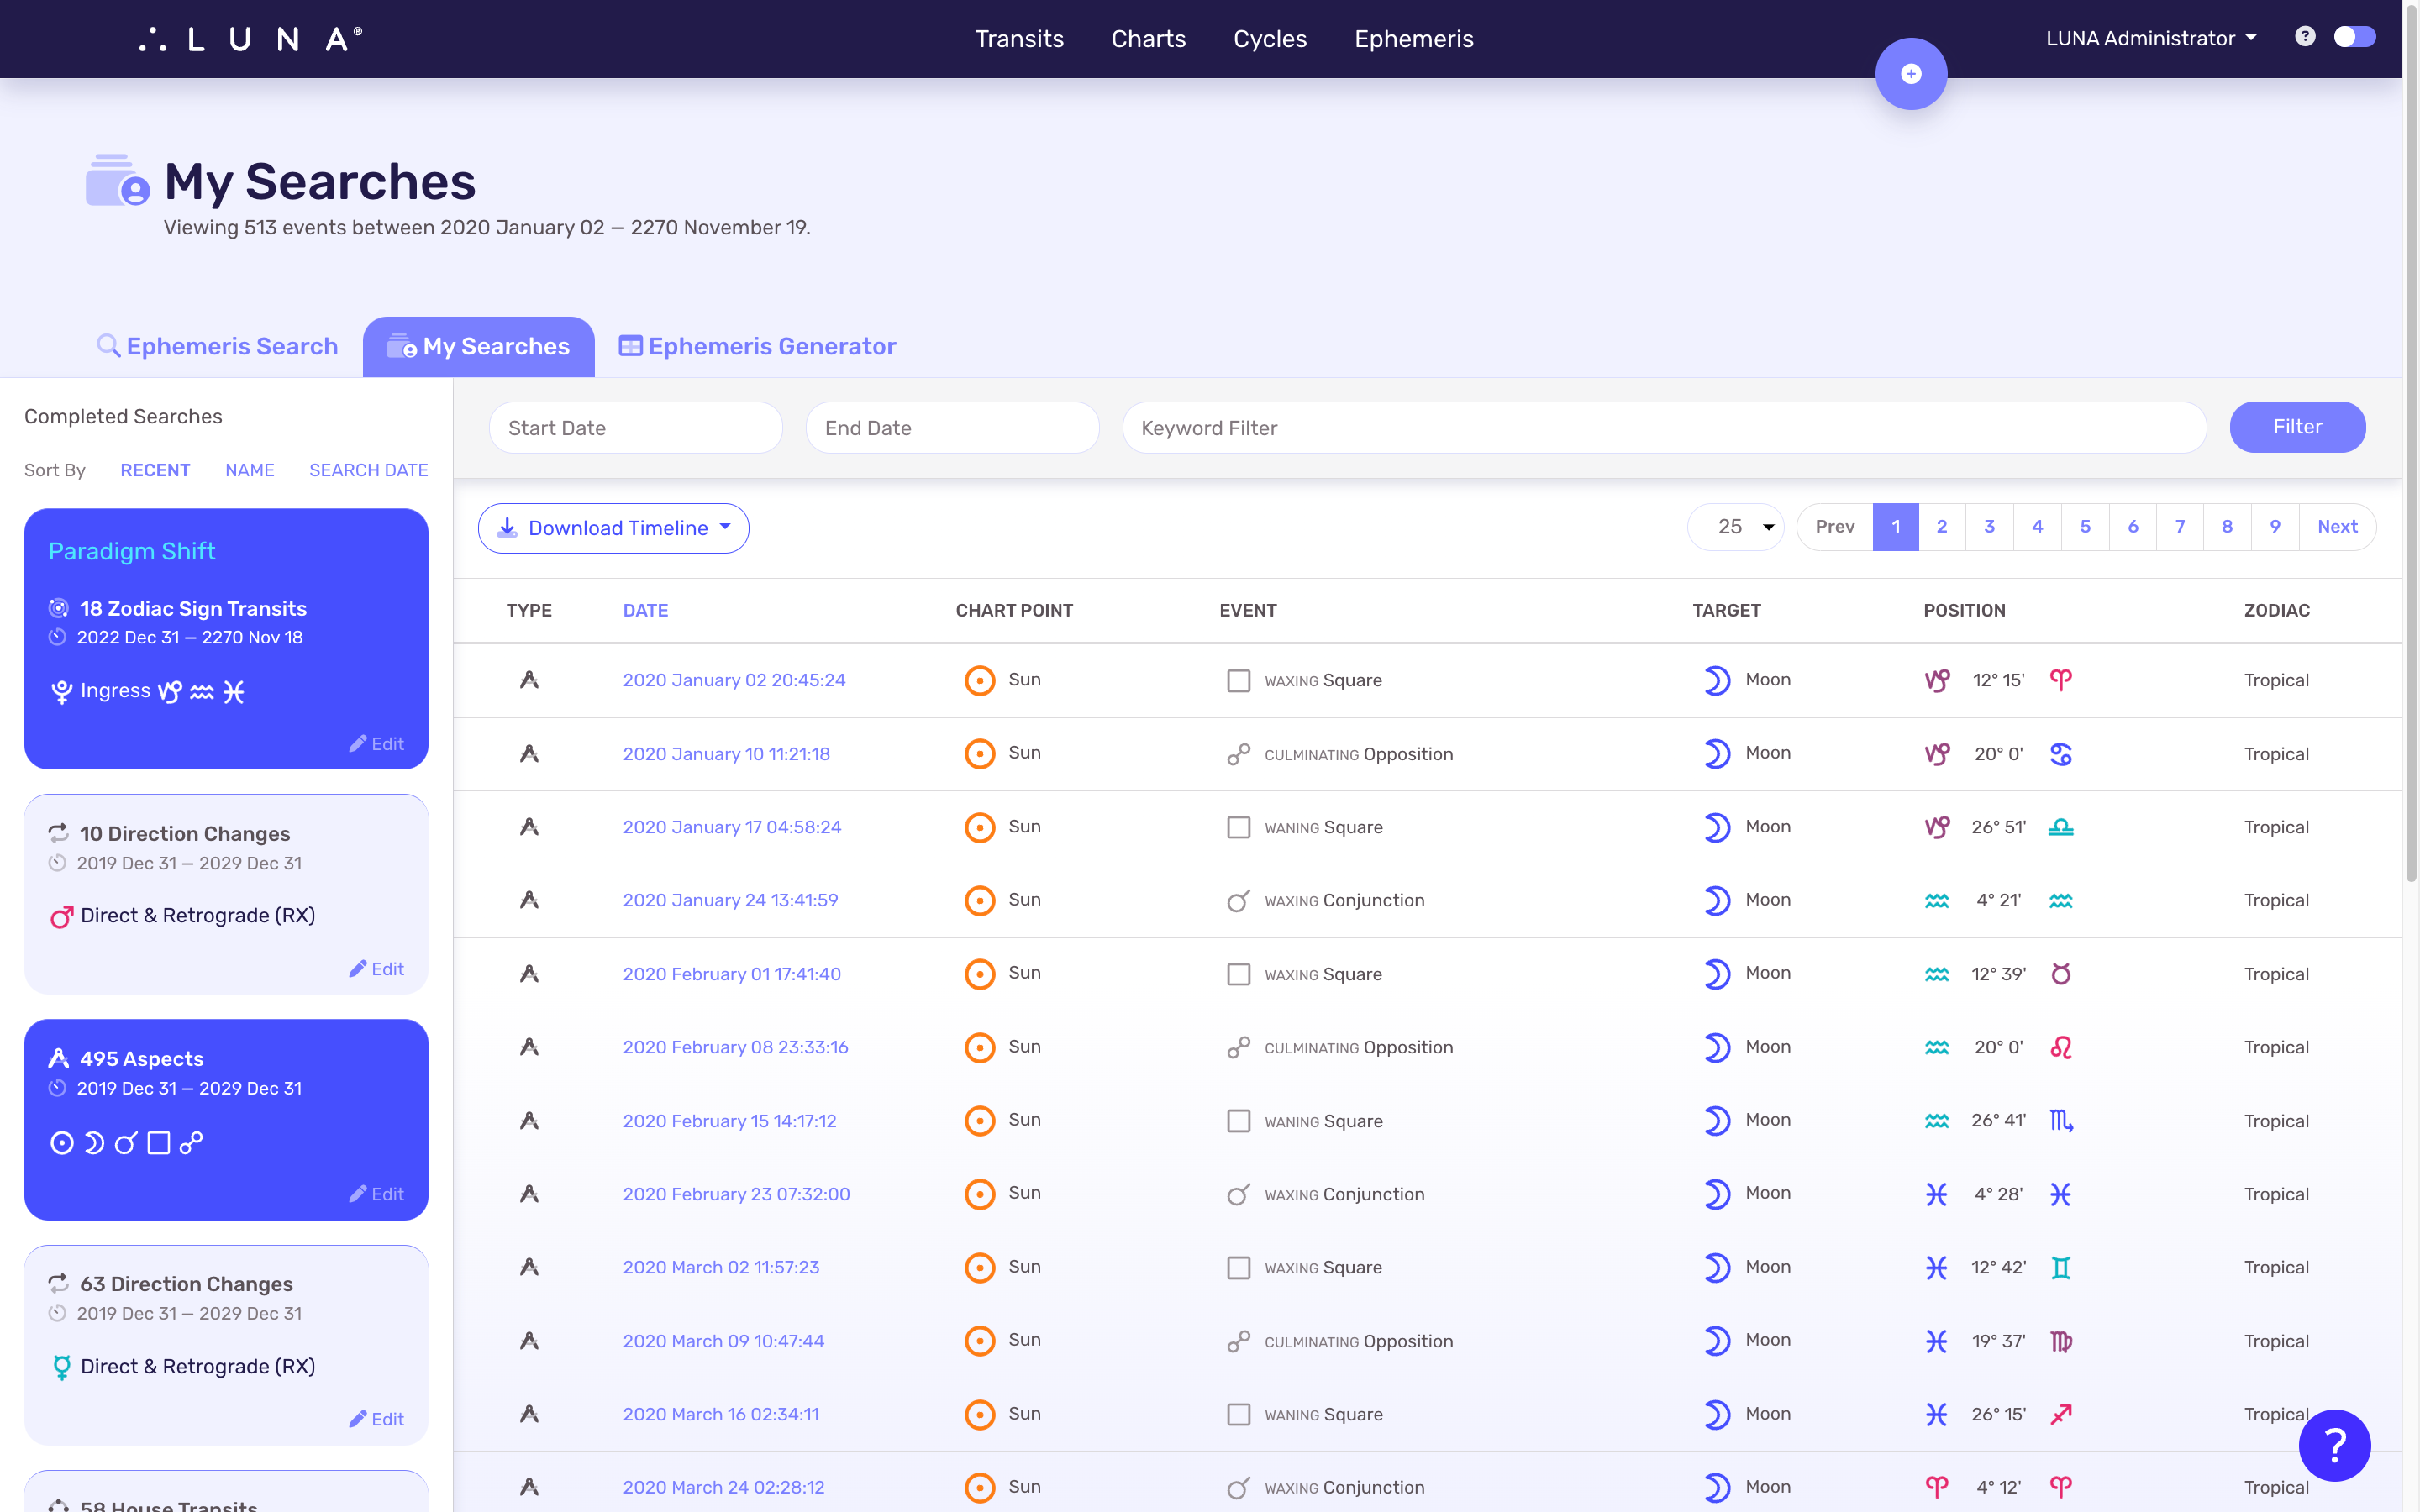
A Timeline showing all events from multiple completed searches.
Filter a Timeline
The Timeline can be browsed and filtered easily. This lets you compose multiple search results into a single Timeline, then provide a date and/or keyword filter to only see the specific set of events you’re interested in.
You can even download this filtered Timeline for your personal use such as a calendar or spreadsheet.
Here is the list of available Timeline filters:
- Start Date: Only show events that occur on or after this date.
- End Date: Only show events that occur on or before this date.
- Keyword Filter: Only show events where the keyword(s) apply.
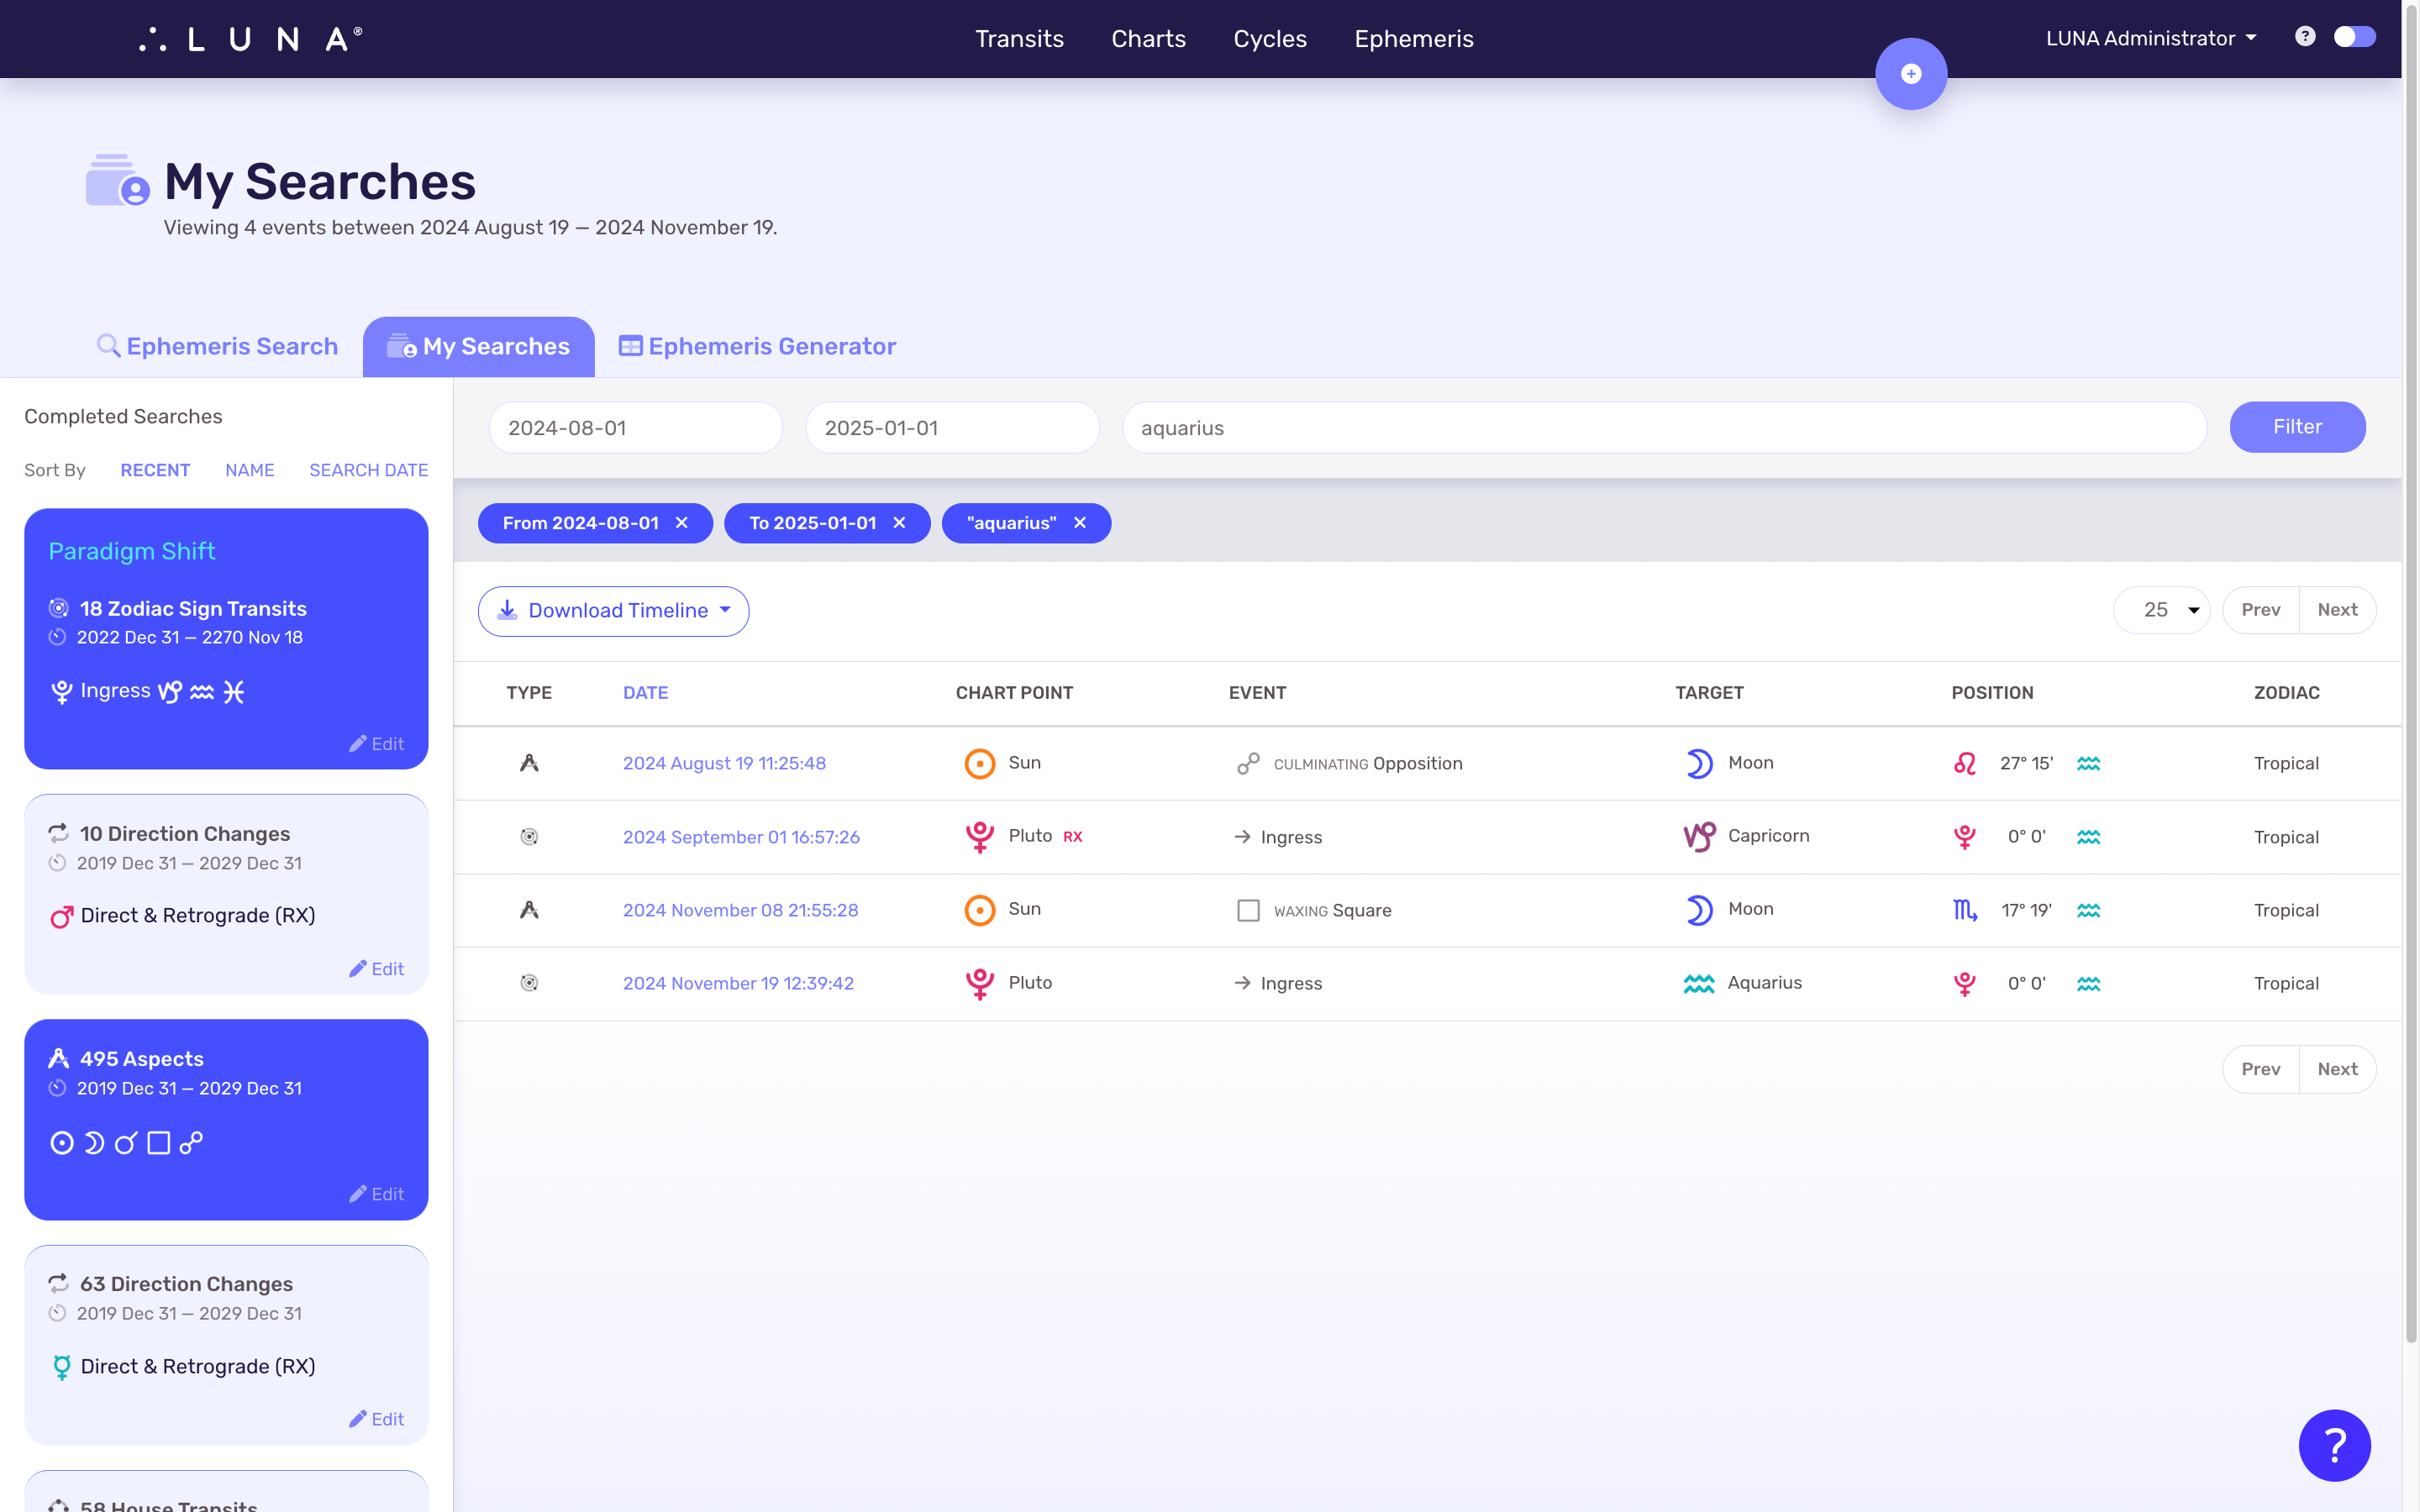
A Timeline showing a filtered set of events from multiple completed searches.
Navigate a Timeline
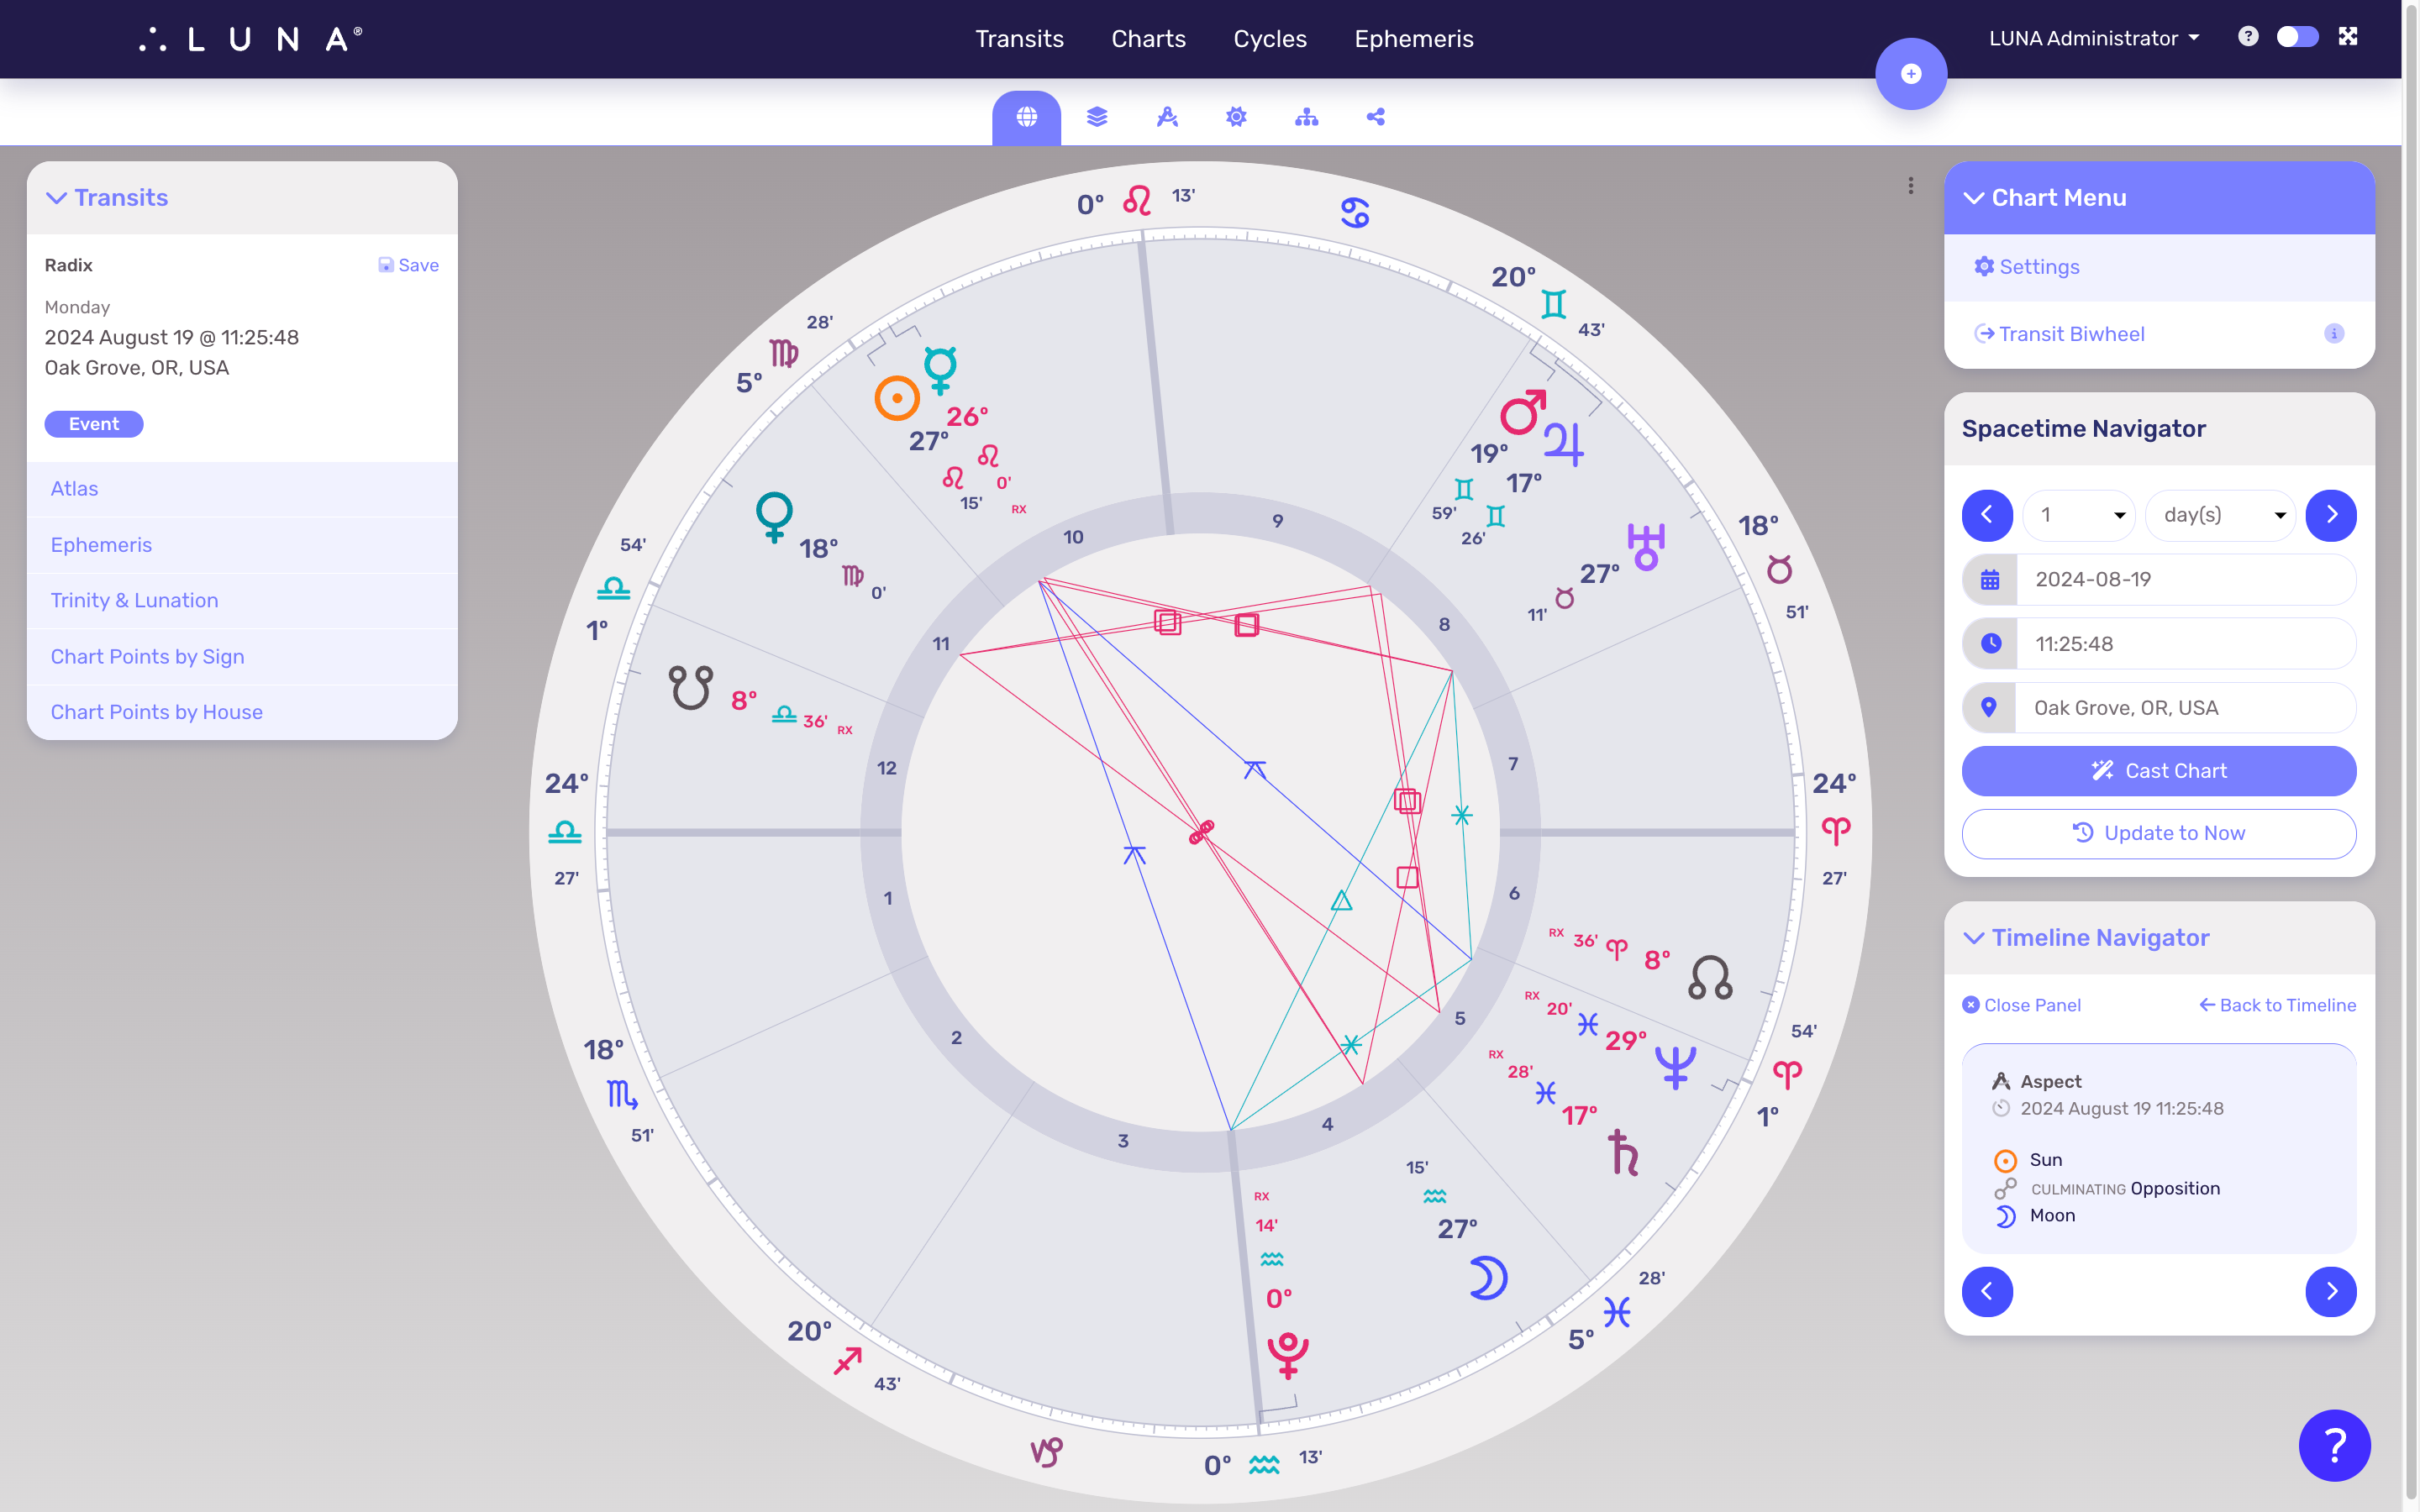
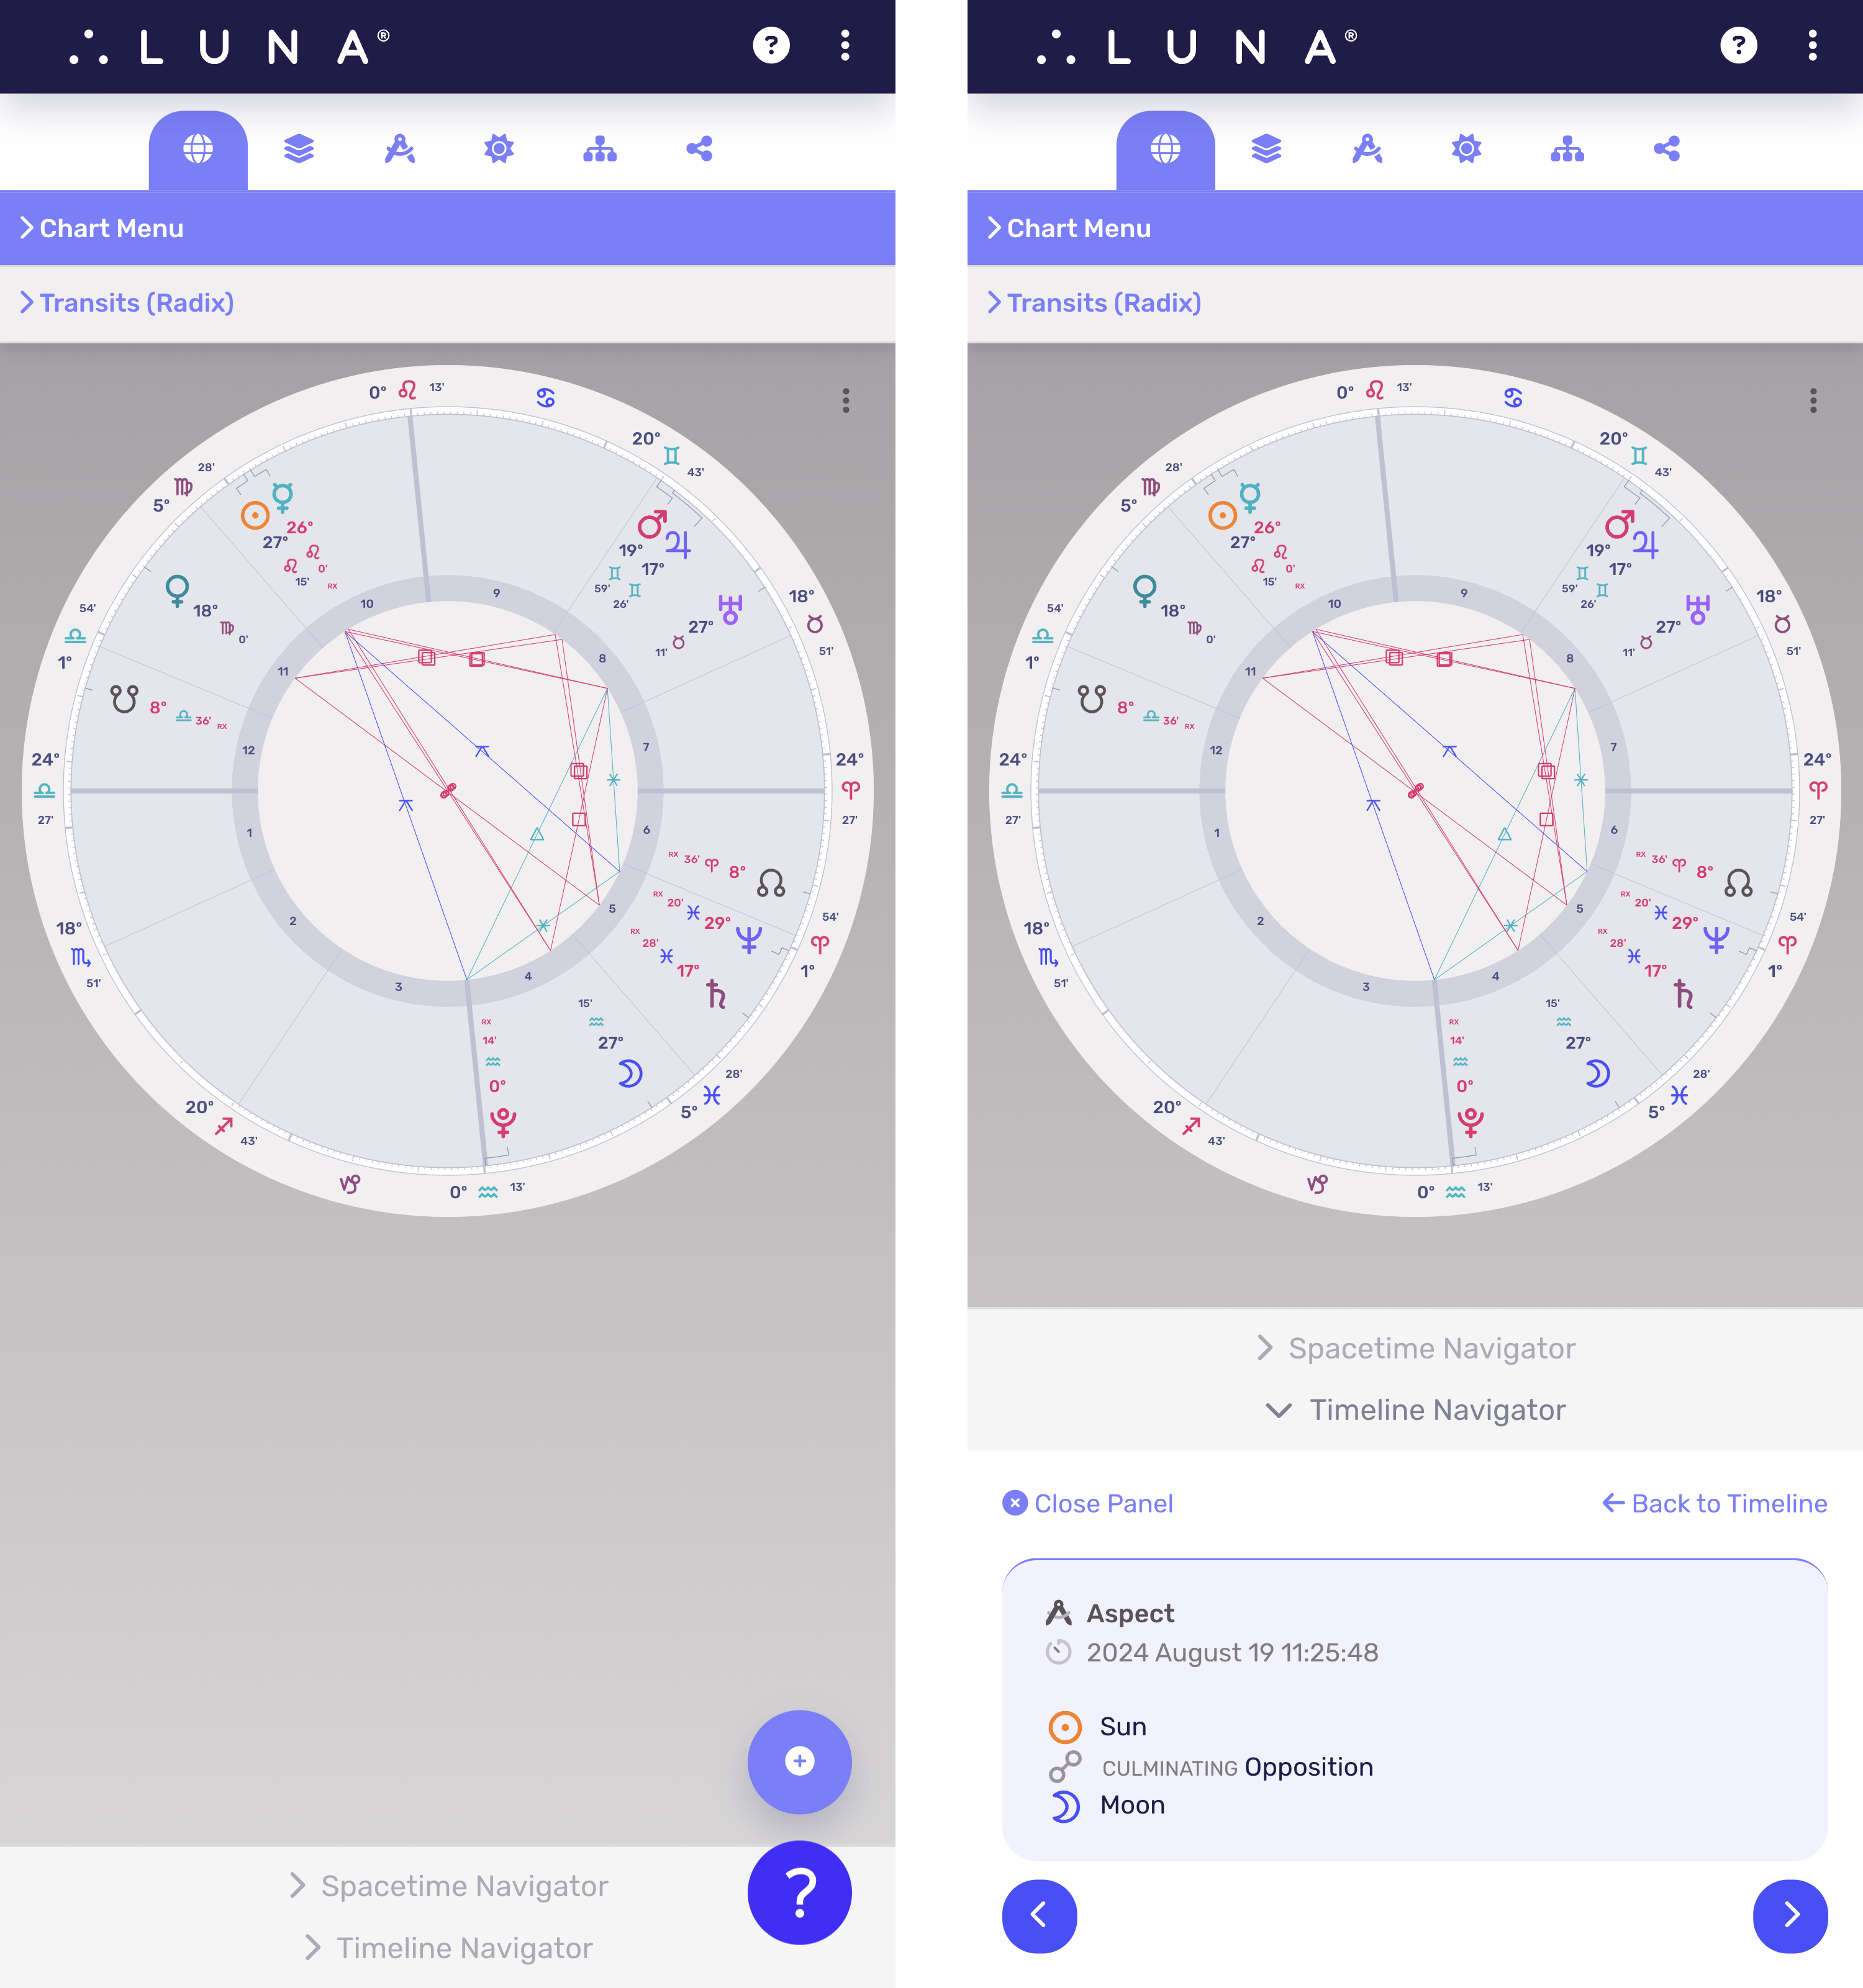
When viewing your Timeline, you may wish to view the entire chart for that event. Select any event in the Timeline to view the chart for it. You will see a new panel called Timeline Navigator which allows you to step through your Timeline backwards and forwards. This lets you view all of the events one at a time in detail.
If you animate the chart using the Spacetime Navigator, the Timeline Navigator can easily return you to the original event you selected. Just select the “Reload Event” button.
When you want to return to your Timeline, select the “Back to Timeline” button and you’ll be taken back to the Timeline you created, just as you left it.
Select the “Close Panel” link in the Timeline Navigator panel to remove it from the chart view.
Download Your Timeline
Download your Timeline as a spreadsheet or calendar file. This allows you to import the events in your Timeline into your calendar, or to run an analysis against other data sets such as financial figures.
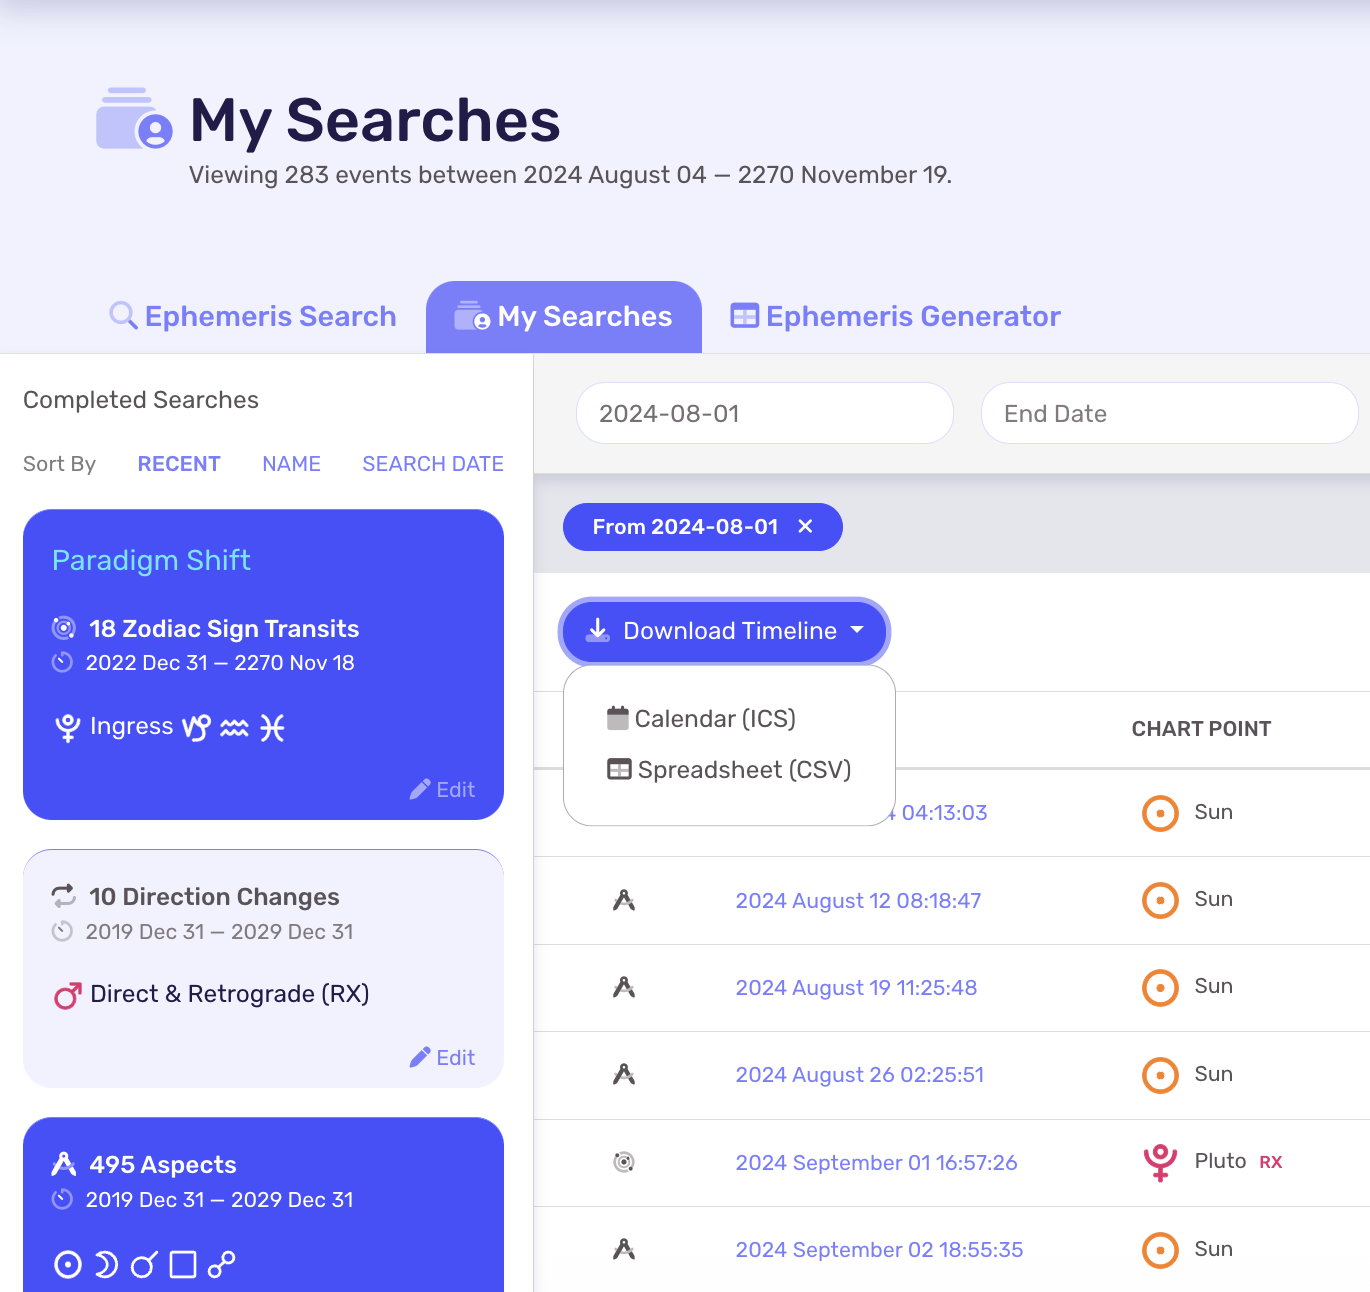
When viewing your Timeline, you can select the “Download” button to pick from the two (2) different data file formats.
Calendar Format
The Calendar (ICS) format is a standard calendar file format that you can import into your Google, Apple, Microsoft Outlook, or any other calendar tool that you prefer to use.
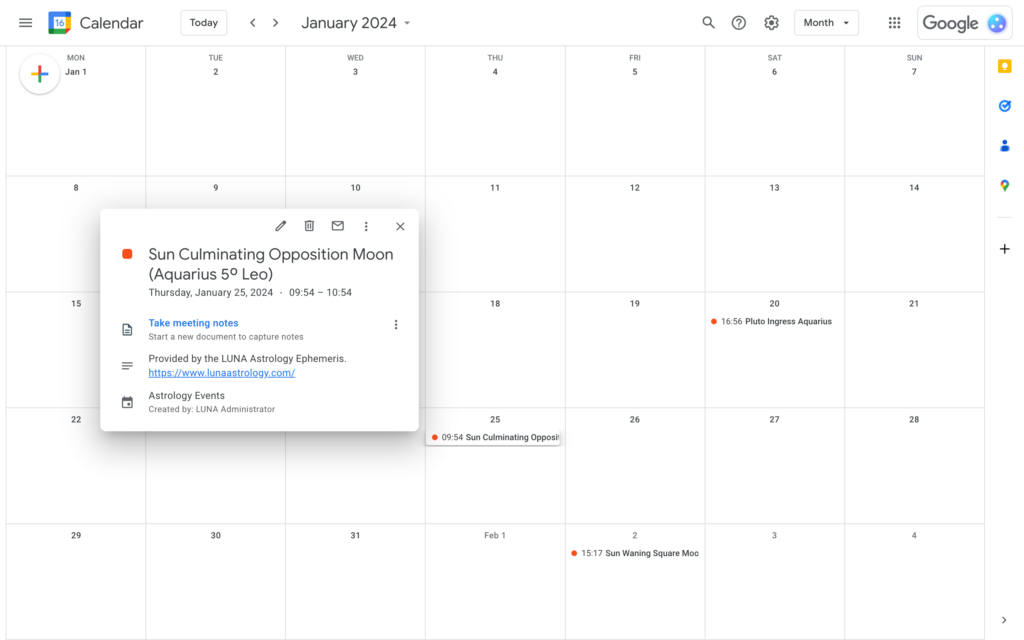
Here is an example of the Calendar (ICS) format after importing it into a Google Calendar.
Spreadsheet Format
The Spreadsheet (CSV) format file can be used in any spreadsheet program such as Google Sheets, Apple Numbers or Microsoft Excel.
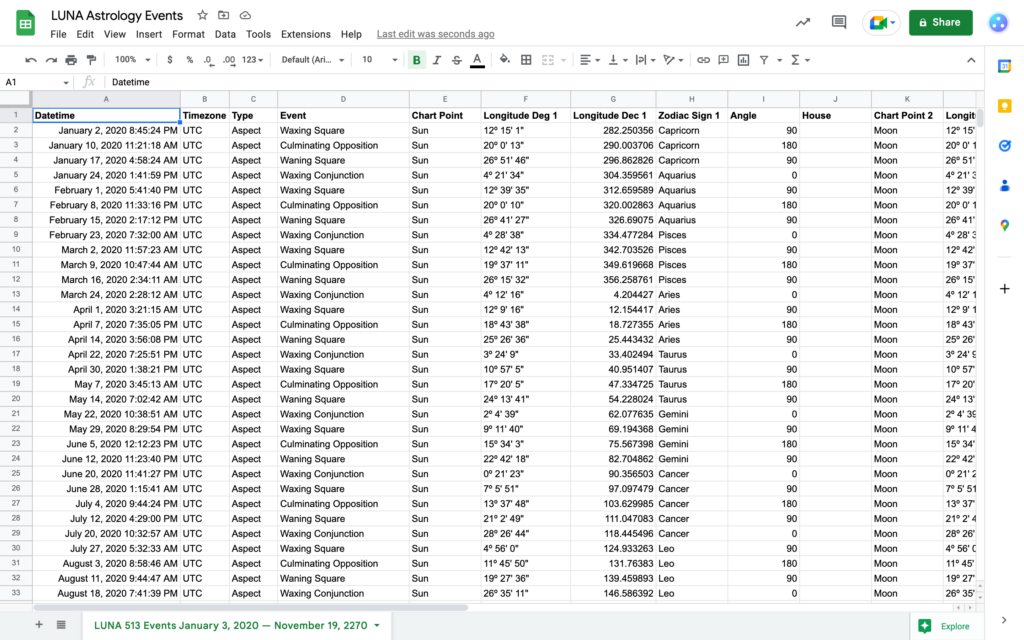
Here is an example of the Spreadsheet (CSV) format after importing it into Google Sheets.
